DIY Traditional Archery Targets
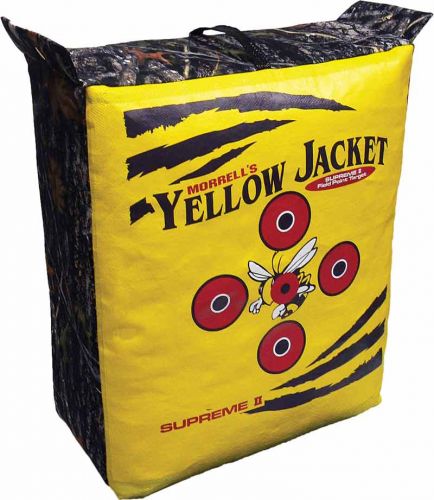
For the traditional archer, high quality archery targets are awesome, but they can get expensive quick. Personally, I love my Yellow Jacket Supreme, but there are many people who love traditional archery because of the DIY aspect, which seems to accompany the sport. It’s for those reasons that I’ve decided to do a DIY traditional archery target blog.
Note: These DIY projects are meant as traditional archery targets; although they may work, they are not meant for compound or crossbow shooters.
All supplies are not created equal, for this reason I recommend taking a few practice shots at close range at half draw to make sure the target is stopping your arrows. Slowly increase your draw until you’re at full draw at close range. If the target is still doing its job, then feel free to enjoy your new DIY traditional archery target.
The Dressed-Up Bag of Mulch
Difficulty level: 1/10
Cost: Less than $15
Time: About 5 minutes
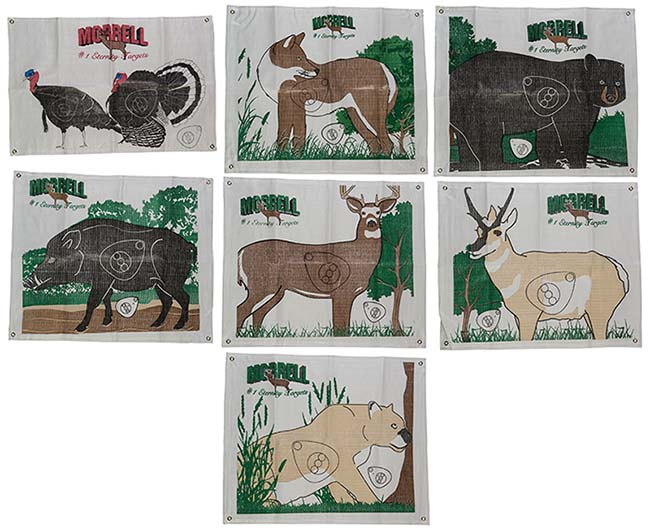 The name of the game for this project is “Cheap.” We’re keeping costs down while maintaining functionality. For this project you’ll need a Polypropylene Target Face and a bag of tightly packed mulch or peat moss from your local hardware store. You want the bag of mulch or moss to be at least 12” thick and VERY TIGHTLY PACKED. I prefer moss because it’s less likely to mess-up your arrows. This target is great because any mess that’s created will benefit your lawn, so there’s really no impact on the environment when the target starts to fall apart.
After you’ve got your supplies, simply affix your burlap target face onto the front of the bag of mulch or moss (unopened). You’re done. What’s bad about this target? It’s not going to stand the test of time. So, although it is cheap and easy to make, be prepare for it to break down quickly.
For a more lasting target, you might consider putting your mulch or moss inside of the U-Fill It bag target or, for an even better (self-healing) target, put your bag of moss inside of the Replacement Cover for the Yellow Jacket Supreme. You’ve just made a long-term, outdoor target that is good for your lawn for less than $25.
The Saran Wrap Filled Box
Difficulty level: 1/10
Cost: Less than $10
Time: About 10 minutes
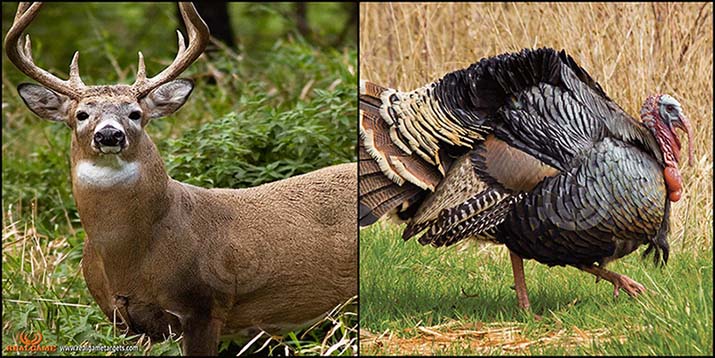
If you saw the Dressed-Up Bag of Mulch and thought that the price was still a bit much, then this is the project for you. You’ll need an empty box, a bunch of used plastic wrap (enough to fill the box), some duct tape, and a Peel and Stick Target Face.
Note: If you ask a local business (try a superstore or hardware store) you might be able to get the box and plastic wrap for free, which would really keep the cost down. You could also try factories, as they have a ton of excess plastic wrap from shipments.
The bigger the box, the bigger the target – however, the bigger the box, the more plastic wrap you’ll need.
After you have all of your supplies, stuff the box with the plastic wrap. Stuff it in until it’s impossible to fill it anymore. Just like the Dressed-Up Bag of Mulch, you want this target very tightly packed. After you’re sure it’s packed, close it up and tape it shut with the duct tape. Finally, stick your target face on the box and voila – you’re done.
This project is not only easy, but it can be nearly free for those traditional archers who can easily come by the supplies. However, cardboard will not hold up in the rain (or in any wet conditions) and it will break down quickly if you use it often (as it is not self-healing).
The Compressed Carpet Target
Difficulty level: 3/10
Cost: Less than $50
Time: About 2 hours
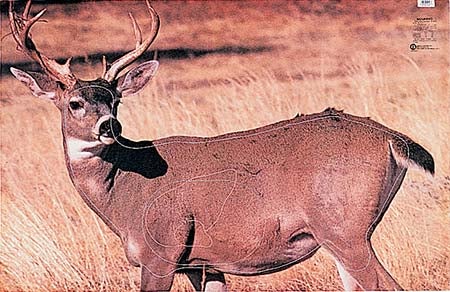
If you’re a bit more adventurous and you’re not afraid to spend a few extra bucks then this is the target for you. For this project you’ll need to visit your local hardware store and pick up a pressure treated 2x12x8 (should be about $12), four 36” x 5/8” standard threaded rods (about $6 each), eight 5/8” x 1-3/4” zinc-plated standard flat washers (less than $0.20 each), and eight 5/8”- 11 zinc-plated standard hex nuts (less than $0.20 each). You’ll also need a decent target face and some target face pins. Finally, you’re going to need a whole lot of scrap carpet. This is really the biggest variable in price for this whole project. If you’ve got the scrap laying around then you’re going to save yourself a lot of money. However, if you have to buy it, try and find the extra carpet from you local big-box hardware store, you should be able to buy a lot of it for not a lot of money.
For tools, it would be best if you had at least two pipe clamps or some ratchet straps, but if not, then your elbow grease will have to do. You will also need a knife, saw, measuring tape, drill with a 5/8” drill bit, and a 5/8” wrench.
You’ll want to cut your 2x12x8 in half, which will give you two 2x12x4s. Drill a hole in each of the four corners of both boards. You’ll want to make sure each hole is 1” away from the end and side of the board. After you’ve threaded one side of each of your standard rods with a washer and hex nut push each rod through one of the holes on one of your boards (use your measuring tape to make sure the same amount of rod is sticking through each nut).
Now, you will want to cut your carpet in 12”x3’ 10” sections (you’re not cutting them 4’ long because your holes are 1” deep on both sides, which effectively makes your target 2” smaller). After you’ve cut your carpet, start stacking it on top of the board that has the rods threaded through it. Stack it as high as you can – ideally until it’s almost at the top of your rods.
Next, you’re going to put your second board on top of your pile of carpet. Thread the screws through the holes you drilled earlier. Put on the washer and the hex nut – make sure the hex nuts are all finger tight. Gently lay the target on its side and pack it down with your feet to make sure the carpet on one side of the target is flush. Stand the target back up and tighten the boards down with your pipe clamps or ratchet straps. Get them as tight as you can and then re-tighten your hex nuts. If you don’t have pipe clamps or ratchet straps, then you’ll have to tighten the hex nuts with your wrench as much as you can. If needed, you can sit on the target, or apply pressure with your knee to aid in compressing the carpet. After you’ve gotten the hex nuts as tight as they’ll get, use your measuring tape to make sure an equal amount of the rod is coming out of each hole.
Now you’re ready to apply your target face and send some arrows down range. This target is great for those traditional archers who want a target that will last a long time and are determined to make their target themselves.
Clear as mud, right? If you’re having trouble visualizing it, then the below video might help
The Sandbox Archery Target (great for broadheads)
Difficulty level: 5/10
Cost: From $110 (if you use only plywood instead of 2x6s) to $150 (if you use 2x6s)
Time: About 4 hours
So, you want a high-quality target, something that’s going to last a long time AND you want to be able to shoot broadheads into it, but you still want to build it your self –because you’re a masochist.
Although I’m not a masochist, I do love DIY projects and this is one that I think just about anyone can do. What makes it cool is the fact that you can shoot just about anything into it. Yes, that means you can shoot this target with broadheads. However, this is a sand target, which means it can make your broadheads blunt – no problem if you have a few that are for practice anyway or if you know how to sharpen them.
For this project you’ll need a saw, measuring tape, and a drill. You’ll also need to visit your local hardware store and buy six 2x6x8s (about $6 each), one 5 lb. box of 3” screws (about $23), two 4x4x8s (about $10 each), one sheet of 3/4″ pressure treated plywood (about $35), 10 50 lb. bags of all purpose sand (about $3 each).
As this build is a bit more complicated, I’ve made a graphic (above) to help out.
First, cut a 4’x2’ section out of your piece of plywood – this will act as the floor for your new Sandbox Archery Target. If you want to keep costs down, you can cut your plywood into four 4’x2’ sections and use it for the floor and three walls – otherwise, use the remainder of your plywood as a backstop behind your target.
Then, cut one of your 4x4x8s into four sections and screw them onto the bottom of your 4’x2’ piece of plywood 1’ apart from each other. Cut your other 4x4x8 in half and attach it to the other side of your plywood (as shown above).
Next, cut four of your 2x6x8s in half. Cut your remaining two 2x6x8s into four 2’ sections.
If it were me, at this point I would cut two holes in the ply wood, so that you could slide a 2x6x2 down into it – helping hold the sand. Affix the 2x6s together as shown above. Next, simply fill with sand and get shooting.
A good idea would be to staple a rugged outdoor target face to the front of your new Sandbox Archery Target, so you have something to shoot at.
The below video shows what a Sandbox Archery Target should look like after it’s completed:
DIY 3D Style Target
Difficulty level: 8/10
Cost: Less than $20
Time: A weekend
That’s right; I’ve saved the best for last – a DIY 3D style target for less than $20. However, this one is the most time consuming and can be the most technically difficult. Expect this project to take at least one full day if not a weekend. If you value your time, you might want to stick to a traditional 3D archery target. However, if your times not worth that much, or your pretty budget conscious and don’t mind tedious work, this is the project for you.
You’re going to need a sheet of plywood (about $15, but if you want to go all-out get pressure treated plywood for $35), a pencil, tracing paper, a ruler, a computer with a printer, and a jigsaw (if you want it to look a bit more lifelike, then get some paint as well). An old school projector would also be a huge help with this.
First, find a picture of an animal that you would like to turn into a 3D target online. Print the picture, make sure that it will fit in a 4”x8” box (if you don’t have a printer, use the tracing paper to trace the image one the screen – don’t press too hard, you don’t want to puncture your monitor). Next, use your ruler (or measuring tape) to measure out a 4”x8” box on your tracing paper. Next, make 1” squares in that box, making a grid pattern. Next, lay that tracing paper on top of the picture you printed out earlier. Trace the outline of the animal onto the paper. If you have an old school overhead projector, now would be the time to put your outlined image onto it and project it onto your plywood. If you don’t have a projector, then lightly (using pencil) draw your grid pattern (except instead of 1”x1” squares they will be 1’x1’ squares) onto your plywood and transfer the image onto the plywood that way. After you’ve traced your image onto the plywood it’s time to cut it out using your jigsaw.
Be sure to cut out the vital area of your new target. Place a box target behind the vital area of your target and you’re good to go!
If you opted to buy paint, now would be a good time to paint the target to your liking.
Here is a video that might help explain it:
For even more great DIY ideas and toturials, check out the book “Bow Accessories” by Volkmar Hubschmann.
By Jason D. Mills


.jpg)

I stuff my burlap bags with plastic grocery or Wal-Mart bags. They accumulate pretty fast at my house. You can stuff the bag t o your personal preference. Stops a field point well.
Thanks everyone! These are great ideas for those of us just starting out. Really helps keep costs down for us beginners.